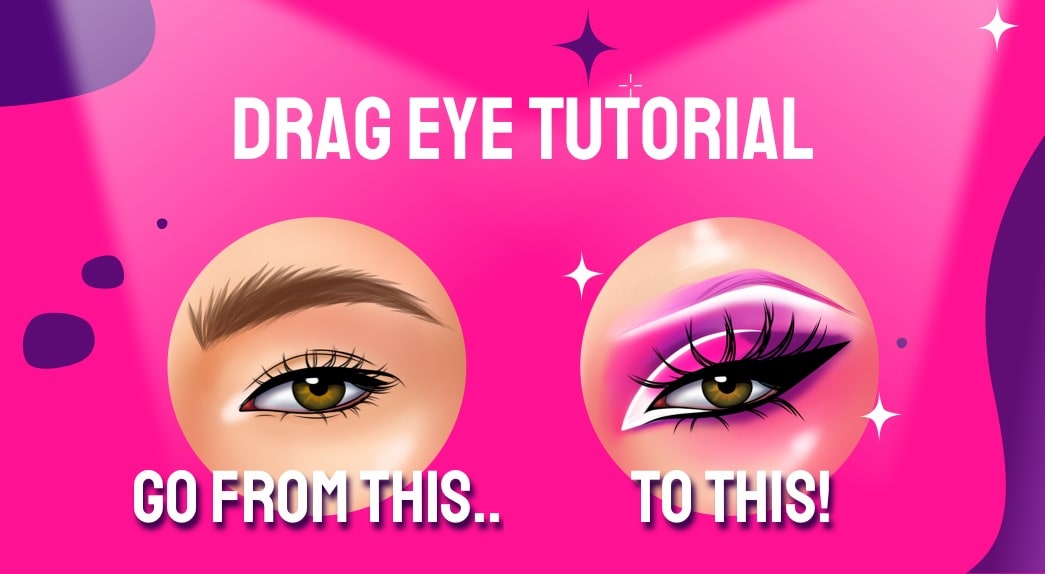
Today, we’ll explore the captivating world of drag makeup, helping you master the art of a stunning half cut crease eye with vibrant colors. Whether you’re a seasoned drag performer or a makeup enthusiast, this comprehensive tutorial is perfect for unleashing your inner glam.
You’ll be delighted to know that all the required materials can be easily found in our dedicated makeup section. Just a friendly reminder: grab a glue stick from your local store for a dollar or two to block those eyebrows.
Let’s dive in and transform your eyes into a mesmerizing work of art with our step-by-step guide to this breathtaking drag eye makeup look. Get ready to unleash your creativity and let the magic unfold!
Preparation
In preparation for our Drag Eye Makeup Tutorial, it’s crucial to start with a clean and moisturized face. By moisturizing your skin beforehand, you’ll ensure that your drag makeup lasts longer and is easier to remove once you’re done.
Now, let’s gather all the essential items and arrange them in front of your mirror for easy access. Here’s what you’ll need for this tutorial:
What You Need For This Tutorial:
-Brow glue (such as Elmer’s School Glue or any other glue stick safe for the skin)
-A set of makeup brushes
-White eye primer
-A vibrant set of colorful eyeshadows
-Setting powder (preferably in a light, peachy shade)
-Black eye shadow
-Black liquid eyeliner
-Big Fake Eyelashes
-Eyelash Glue
With these items at the ready, we’re all set to begin creating a fabulous drag eye makeup look!
Step 1: Block Out Those Eyebrows
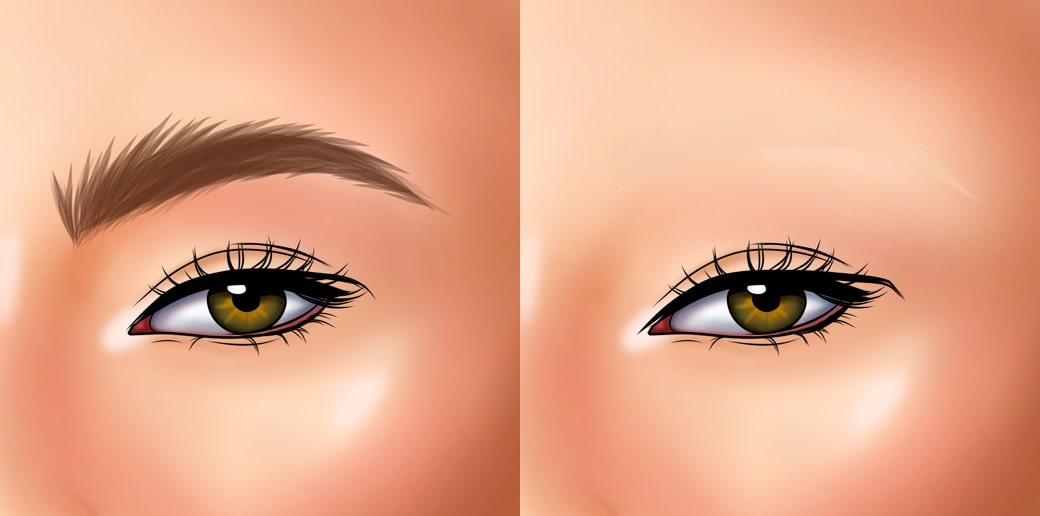
To block your eyebrows, start by combing them upwards using a spoolie brush. Then, apply a layer of glue stick or brow glue to smooth down the hair, pressing it flat against your skin using a small spatula or the back of a spoon. Allow the glue to dry completely before proceeding. You might need to do this two or three times to get all the hairs flat against your skin.
Next, apply a generous amount of setting powder over the glued brows, using a fluffy brush to ensure even coverage. This step helps to further flatten the brows and create a solid base for makeup application. Gently brush off any excess powder, and you’re ready to proceed with your fabulous drag eye makeup!
Step 2: Apply White Eye Primer (Base)
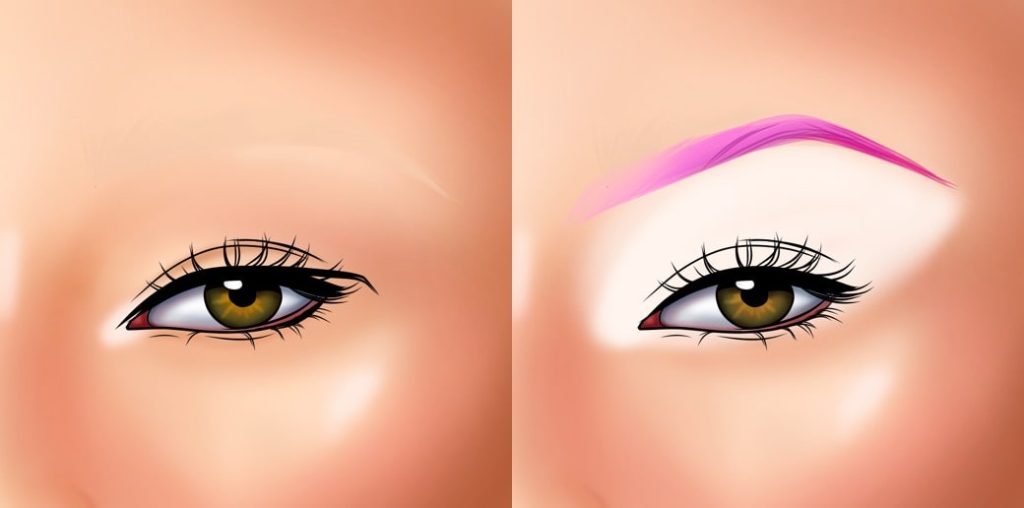
To create a flawless canvas for your eye makeup, begin by applying a white eye primer base all around the eye area. Use a small brush or your fingertip to blend it evenly, ensuring it covers the entire lid and extends slightly beyond the brow bone. This step helps to intensify eyeshadow colors and enhance their longevity.
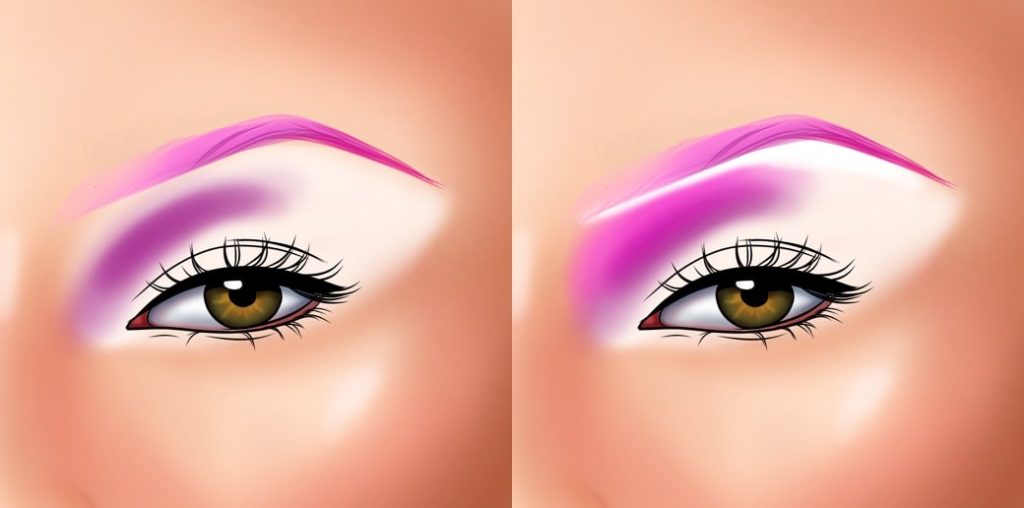
Next, it’s time to draw a new eyebrow above your real eyebrow. For a fun and playful look, we recommend using a light pink shade. Using an eyebrow pencil or an angled brush dipped in light pink eyeshadow, carefully outline and fill in the desired shape above your natural brow. This technique allows for creative expression and adds a unique touch to your overall drag makeup look.
Step 3: Apply The Base Of Your Crease
Step 3: Build a new crease, higher than your original crease. This will make your eyes look bigger and more feminine. In this tutorial we’re going for a half-cut crease (the inner half)
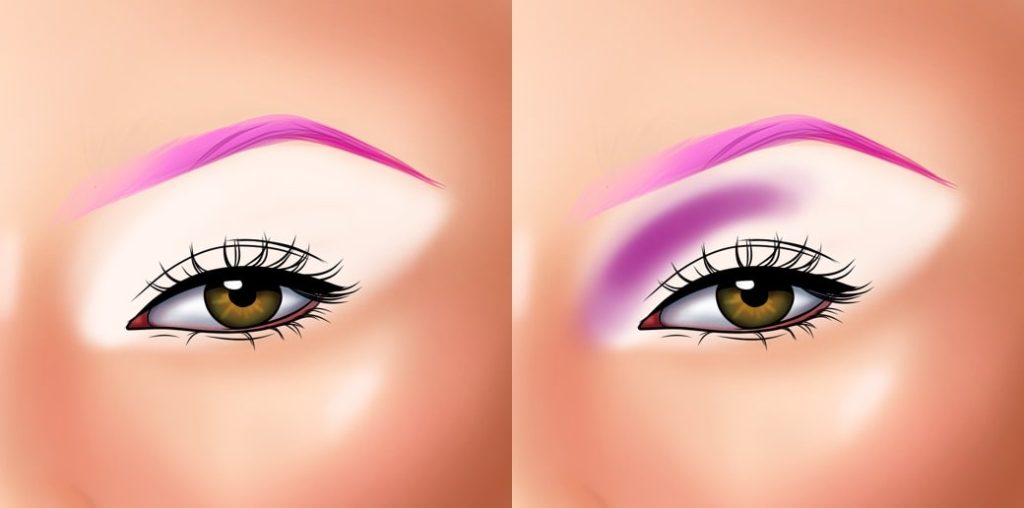
To achieve a captivating and feminine look, let’s create a new crease that sits higher than your original crease, using a purple eyeshadow for a half-cut crease effect on the inner half of your eye. Start by selecting a vibrant purple eyeshadow shade that complements your desired look.
Using a small eyeshadow brush, carefully apply the purple eyeshadow along the new crease line, starting from the inner corner of your eye and extending towards the center. Blend the eyeshadow gently to create a seamless transition between the purple and the rest of your eye makeup.
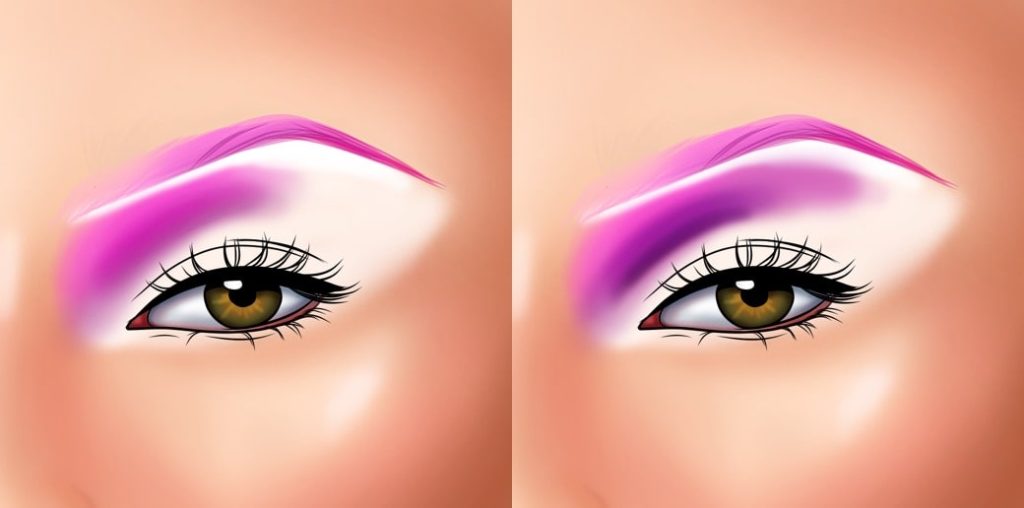
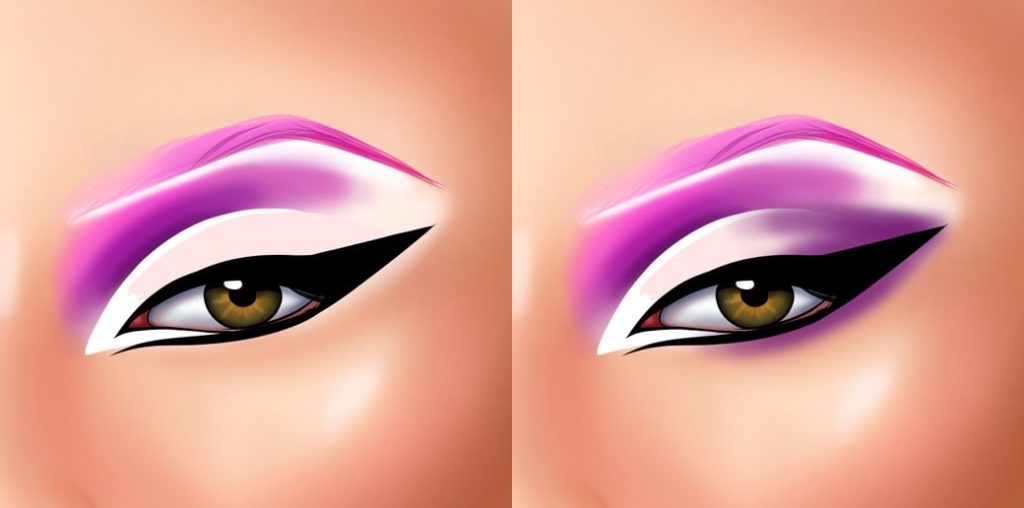
Step 4: Blend Vibrant Pink To Buff The Top Edge
To add a burst of vibrant color and create a smooth transition, let’s incorporate a vibrant pink shade to the top edge of your new crease, blending it seamlessly with the purple. Begin by selecting a bright pink eyeshadow that complements your overall look.
Using a small blending brush, apply the pink eyeshadow to the top edge of your new crease, starting from the outer corner and working your way towards the inner corner. Gently blend the pink shade with the purple, ensuring a smooth transition between the two colors.
Remember to maintain a small gap or show some white space between your crease and the painted eyebrow. This contrast adds dimension and highlights the artistry of your eye makeup.
Step 5: Blend Black To Buff The Bottom Edge
To add depth and definition, let’s incorporate black eyeshadow to the bottom edge of your new crease, creating a smooth transition from black to purple. Select a rich, pigmented black eyeshadow that complements the overall look.
Using a small precision brush or a smudging brush, carefully apply the black eyeshadow to the bottom edge of your new crease. Start from the outer corner and blend inward, ensuring a seamless transition between the black and purple shades.
Step 6: Cut The Crease
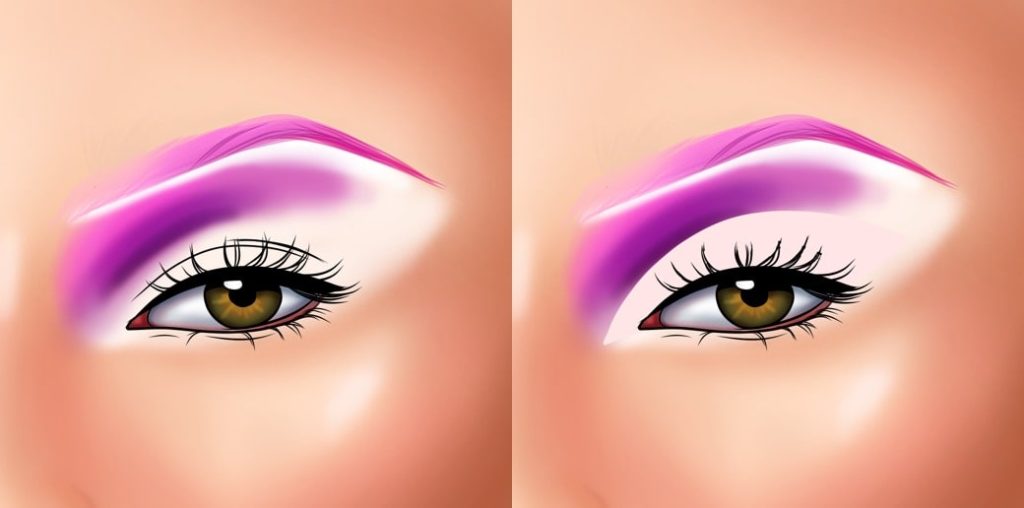
Now it’s time to cut the crease and create a clean, defined line. Start by using a white eye primer or base and apply it on top of the crease in a rounded shape. Pack the product onto the lid, making sure to create a sharp and precise line.
Using a small flat brush or a concealer brush, carefully apply the white eye primer or base, covering a significant portion of the black eyeshadow from the previous step. This will create a striking contrast and emphasize the crease.
To set the white eye primer or base and ensure longevity, gently dust a peachy or light-colored setting powder over it. This will help to prevent creasing and maintain a smooth finish throughout the day.
Remember, precision is key when cutting the crease, so take your time to achieve a sharp and clean line. The combination of the white eye primer and the peachy or light setting powder will add a stunning dimension to your drag eye makeup look.
Step 7: Apply The Eyeliner
Step 7: Create the eyeliner. Start small, and slowly go bigger if you are not feelign confident about making a great liner. Set it with black setting powder
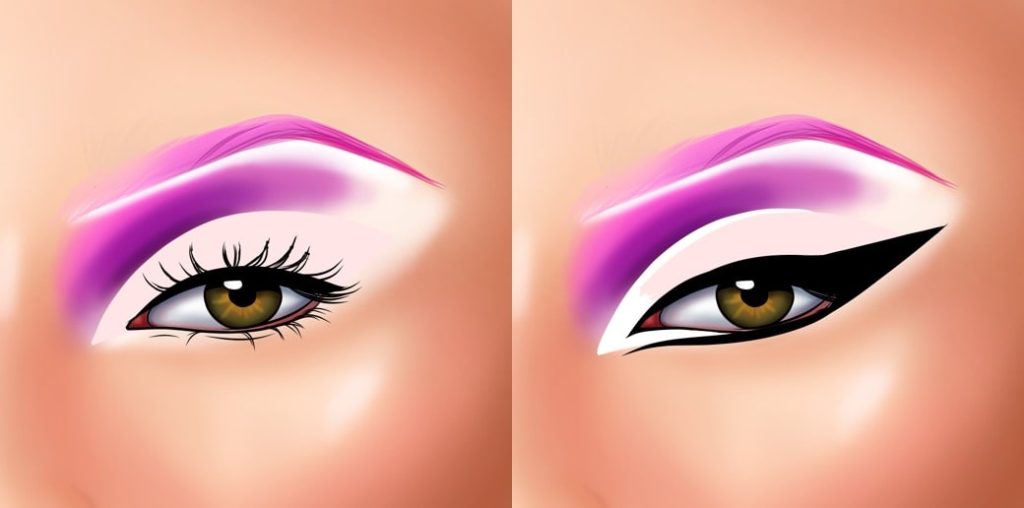
To intensify your eye makeup and create a bold, defined look, it’s time to apply black eyeliner. Using a black liquid eyeliner or gel eyeliner, carefully line your upper lash line, starting from the inner corner and extending towards the outer corner. Create a smooth, even line, following the shape of your eye.
Once the eyeliner is applied, enhance its longevity and intensify the black color by setting it with black setting powder. Take a small angled brush and gently pat the black setting powder along the eyeliner, ensuring it adheres and sets in place. This step helps prevent smudging and provides a long-lasting, intense finish.
Step 8: Add Purple Around The Eyeliner
To infuse a pop of purple and create a captivating eye look, use the same brush you used earlier to apply purple eyeshadow around the eyeliner. Dip the brush into the purple shade, ensuring it’s well-coated but not overloaded.
Starting from the outer corner of the eye, gently apply the purple eyeshadow along the eyeliner, blending it halfway inward towards the middle of the eyelid. Remember to leave some white space between your crease and the area where you’re adding the purple, as this will accentuate the contrast and highlight the artistry of your eye makeup.
For the bottom lash line, take the same brush and apply a thin line of purple eyeshadow just beneath the lower lashes. This will add a subtle touch of color and coherence to your overall eye look.
Step 9: Blend Pink Around The Eyeliner
Step 9: Take the bright pink and blend from the inside towards the purple at the top of your eye. Make sure to blend it nicely. At the bottom, blend it outwards.
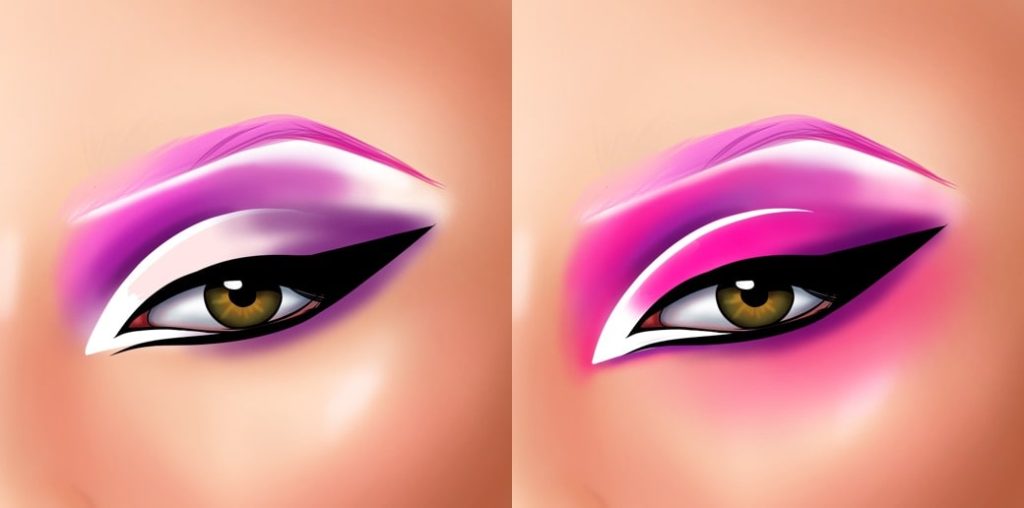
Start by gently applying the pink eyeshadow around the eyeliner, focusing on blending it smoothly into the purple eyeshadow from Step 8. Be mindful to maintain some white space between the applied makeup and the crease, as this will emphasize the contrast and keep the overall look clean and defined.
For the bottom of the eye, use the pink eyeshadow to blend it outward, extending the color slightly for a cohesive and polished appearance.
Step 10: Finish It Up By Add Your Big Eyelashes!

To complete your stunning drag eye makeup look, it’s time to add big, dramatic fake eyelashes.
Carefully apply a thin line of eyelash glue along the band of the fake eyelashes. Wait for a few seconds to allow the glue to become slightly tacky before proceeding.
Position the fake eyelashes as close to your natural lash line as possible, starting from the inner corner and gently pressing them down along the entire lash line. Use a pair of tweezers or your fingertips to adjust and secure the lashes in place.
Allow the glue to fully dry and set, ensuring a firm hold. Once the lashes are securely in place, gently curl your natural lashes and apply a coat of mascara to blend them seamlessly with the fake lashes.